Leaves are certainly not in short supply this time of year. With these kids crafts, you can give fall foliage a new purpose while also entertaining little ones.
To add some education to the mix, you can talk to your child about a leaf’s various parts, plus explain why leaves change color. You may also want to explain the reason behind the seasons according to Greek mythology’s tale of Persephone.
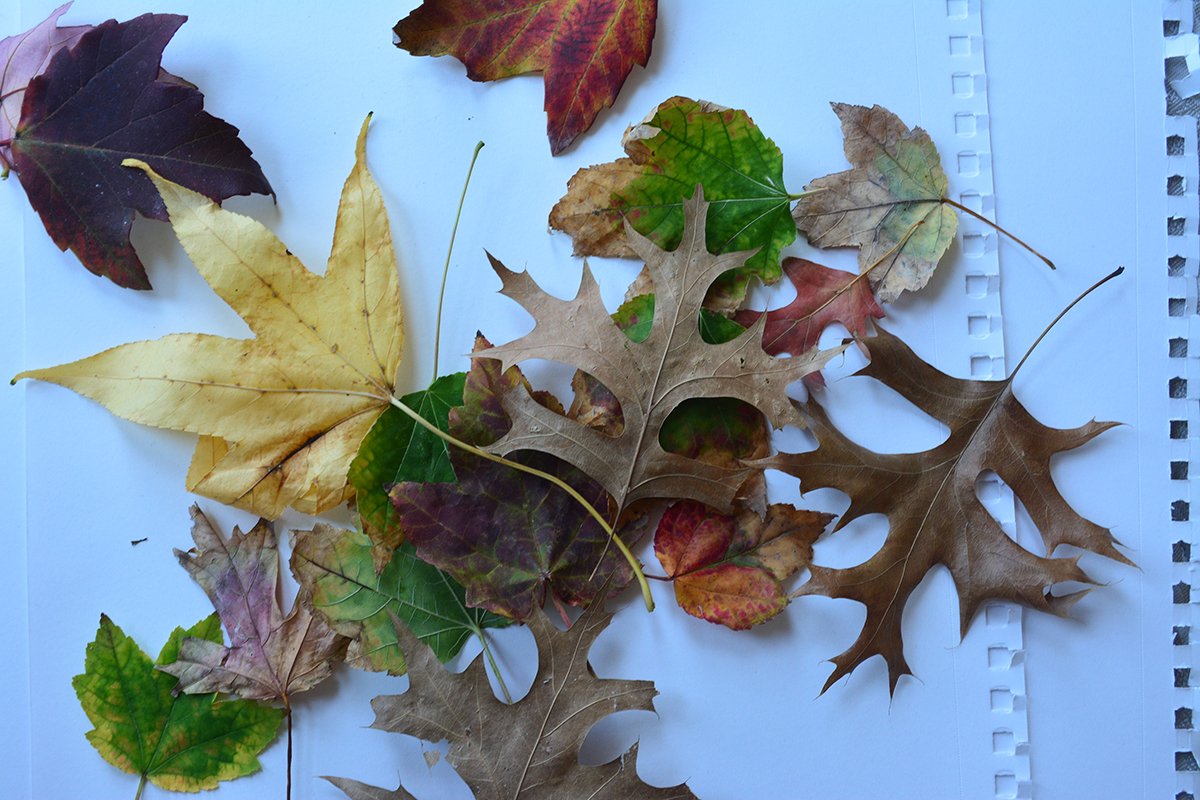
A word of advice: Be sure to collect a good mix of crunchy, freshly fallen leaves.
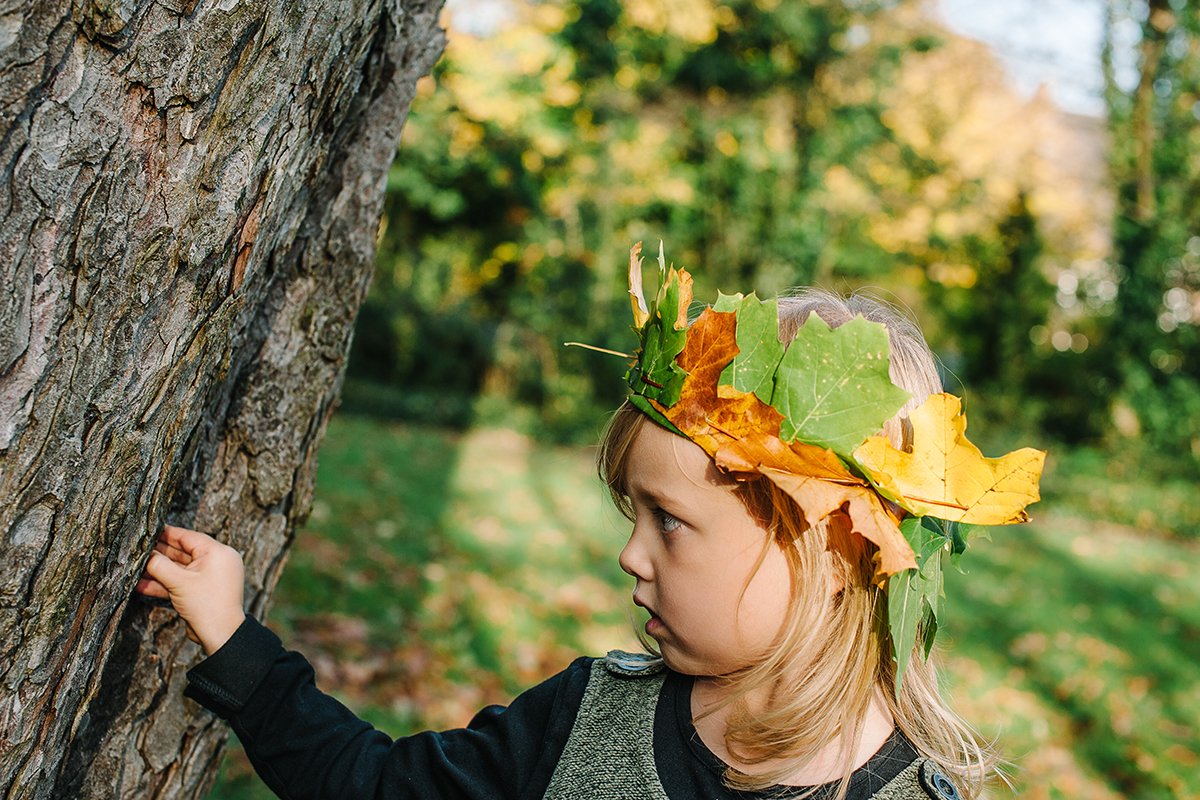
Fall Crown or Lantern
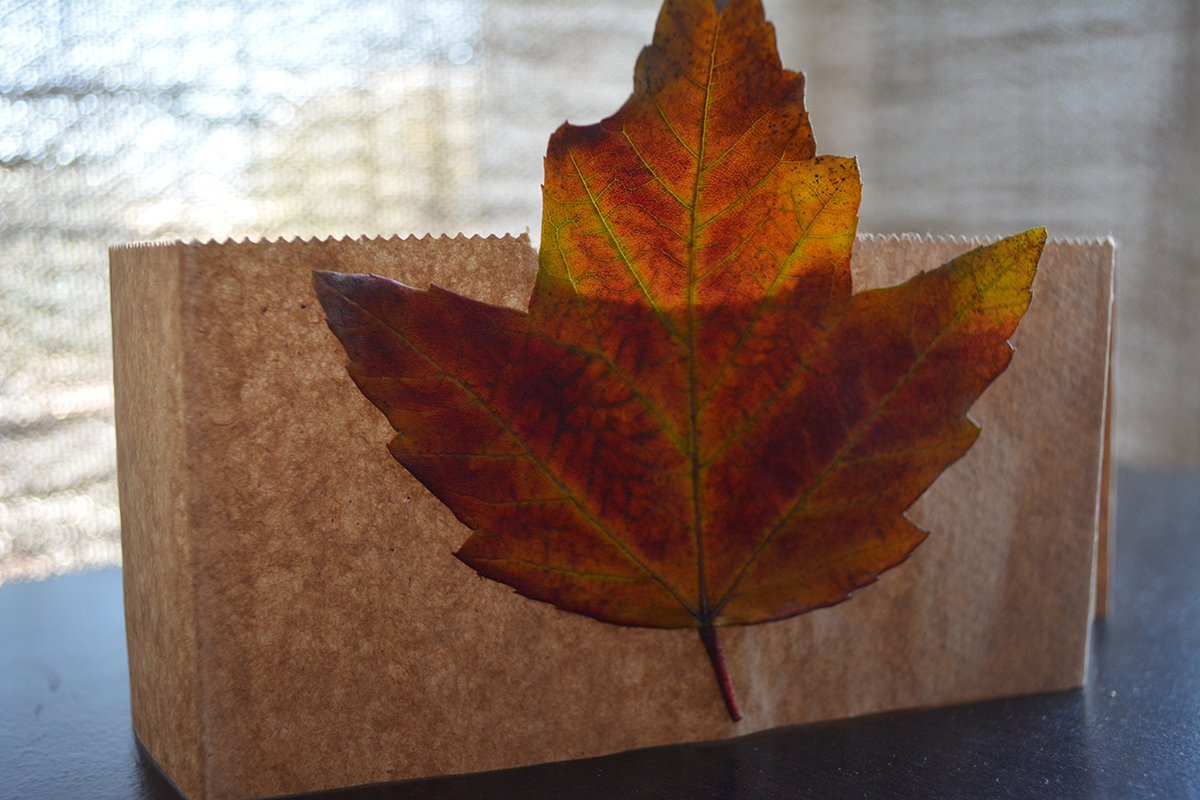
Your child can deem themselves the king or queen of the season with this simple, silly accessory (which also makes for great photo opportunities!). You’ll need leaves, a brown paper bag and liquid glue. Note that depending upon the size of the paper bag, crowns can come out pretty small. If this is the case, check out step four and use the remainder of the bag to make a lantern instead.
Directions:
1. Two inches down from the top of the bag, cut straight across to the bag’s opposite side. When opened, the strip of paper should be a complete circle.
2. Try on the paper crown. If too big, the loop can be tightened with a staple or paperclip. If too tight, continue to step four for an alternative craft.
3. Flatten the crown and place on a hard surface. Begin gluing leaves to what will be the front of the crown. If you’d like to put leaves around the entire crown, wait for the first side to dry, then, without unfolding the paper, flip it over and glue leaves down on the opposite side.
4. Take the remainder of the bag and glue down leaves on both sides. Leave as is for a seasonal shelf-topper, or place a plastic votive inside the bag for a small lantern.
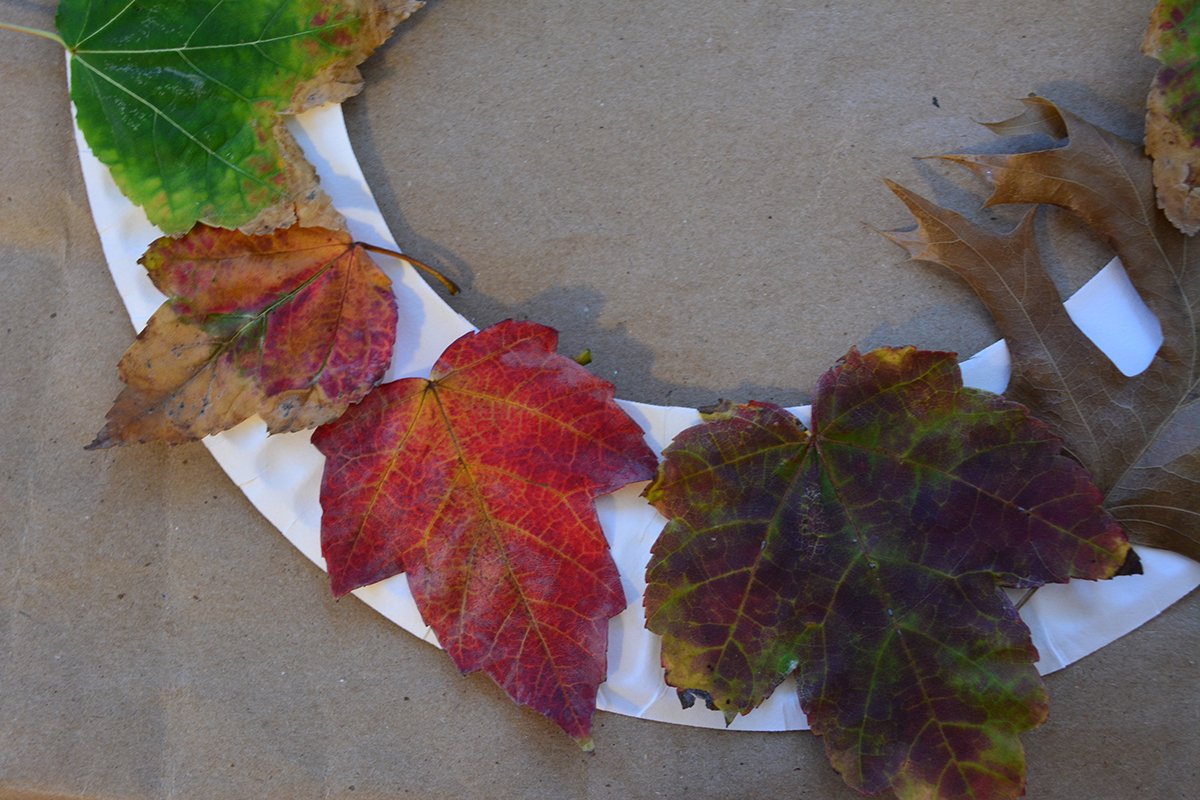
Fall Wreath
This long-time sign of the season can be hung indoors or outdoors. All you’ll need is a paper plate, scissors, liquid glue and leaves.
Directions:
1. Make a straight cut from the side of the plate toward the center. Don’t go beyond the ribbed area on the plate’s opposite side. The now open portion of the plate will be stapled, glued or taped together later.
2. Remove the center of the plate by cutting all the way around the inner circle.
3. Begin adhering the leaves to the plate’s remaining rim. You might need to wait for some leaves to dry before adding more, as it could take time before their surface properly adheres.
4. Flip the plate over and staple, glue or tape together the slit you created in step one. Don’t worry about making this part pretty as it won’t be visible when the wreath is hanging.
Leaf Rubbing
For kids that like to color, this activity may be of particular interest. Using one or more leaves, paper and either crayons or colored pencils, your child can see a leaf’s texture come to life on paper.
Directions
1. Set the leaf on a hard surface and cover it with a sheet of paper. Lightly press down. Crunchy leaves will break under the pressure of the crayon, so check to make sure that the leaf is still intact before coloring.
2. Pick a favorite color and begin lightly shading (better safe than sorry!). If too faint, add a little more pressure.
3. Once happy with the rubbing, remove the leaf from under the paper. Leave as is, or add in your own details for some extra effects.